Upholstery Webbing and Stick Project
3:05 PMSo, here it is! The result of my upholstery webbing and stick project.

I've used a burlap type ribbon for the last couple of years so this year is a experiment with the webbing. So far it is holding up really well. Just a little fading of the red which doesn't bother me at all. Also this is a great price at something like .75 a yard.

Last time I purchased sticks was about 3 years ago - they survived 3 seasons of Michigan weather. I purchased them from my local craft store. When I looked this year I couldn't find them. It all worked out really well in the end though. I was shopping at Ikea and look what I came upon. Not only was the price right - about 14.99 - I also had so many more sticks that I really went a little crazy! You'll see!

I have a few urns at my house that really needed to have more height. Two of them are at the entrance to my sidewalk and one is on the front porch. This is where the stick idea came into play.

I simply just space them equally around the base of the planter.

When you are finished placing them they will look something like this.
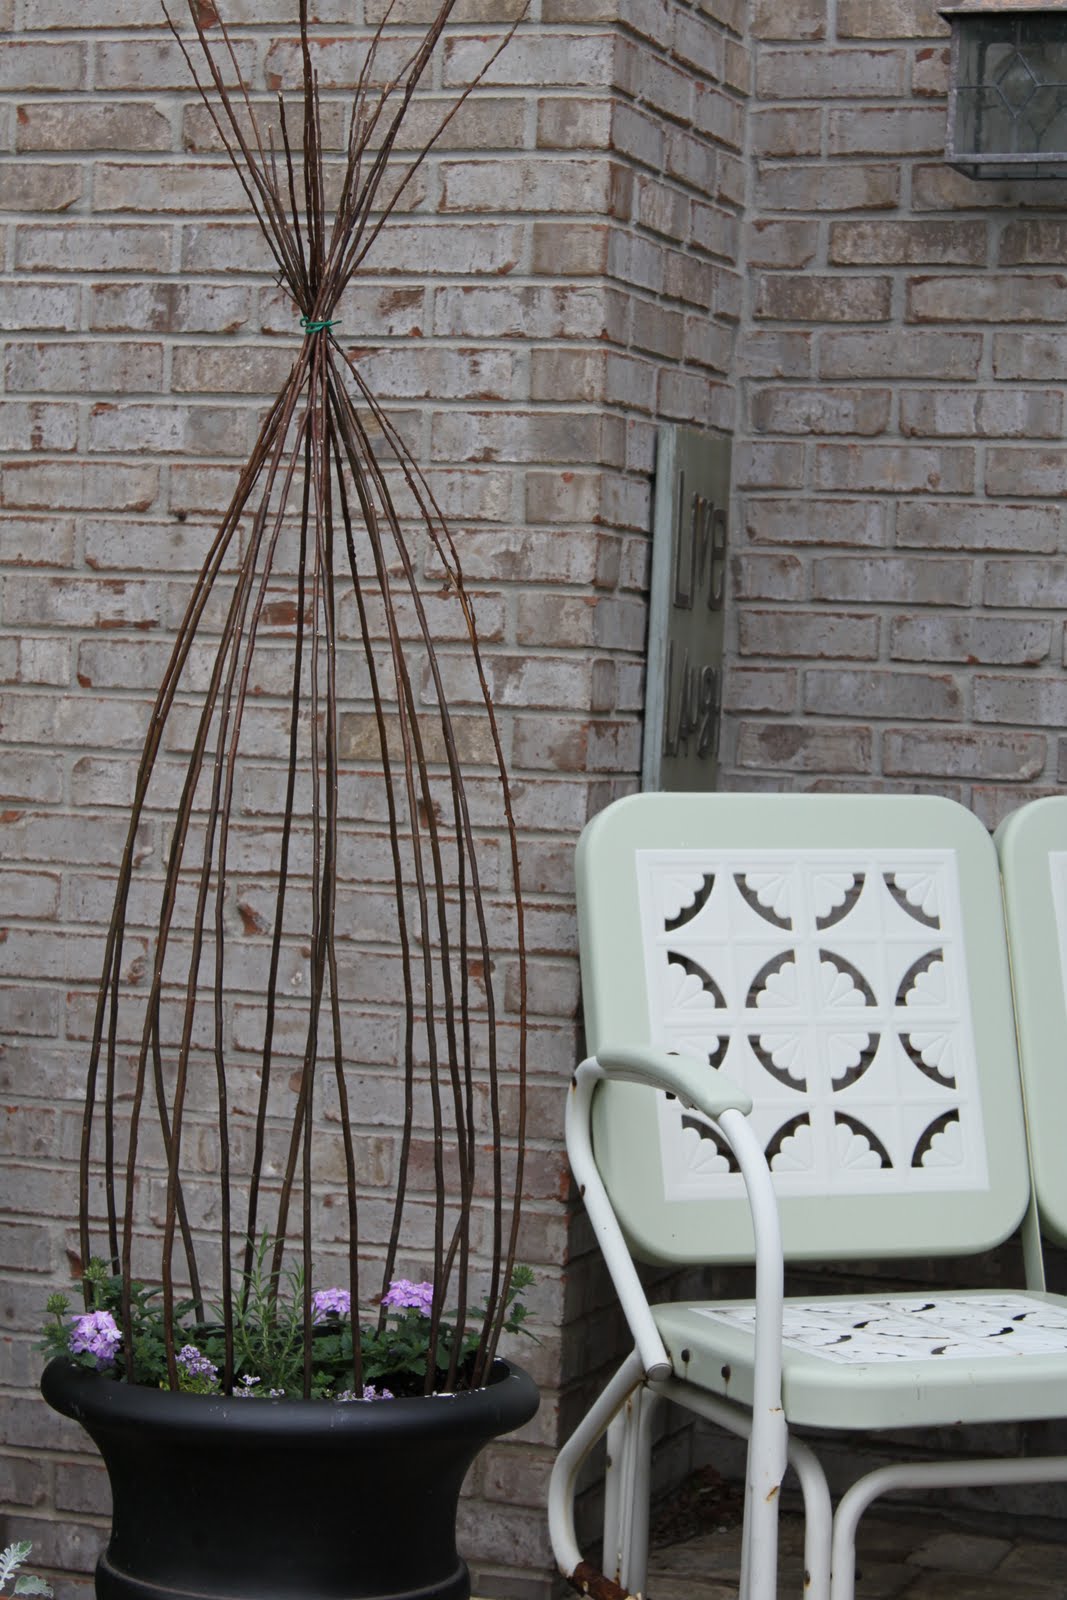
I then just gather them together at the top and secure them with a twist tie. The added height was just the look I was going for. Something like a topiary form.

I decided to try something a little different and made some flowers out of burlap. Total experiment! Completely free form I cut 5 wavy circles - each slightly smaller than the previous. I sewed them together with needle and thread through the center of each burlap piece - adding to the flower layer by layer and pinching the burlap here and there so it wasn't just flat. I folded the very top petal in half and then in half again. Then I stitched the bottom point all together so it would be really pinched. I then added this to the top of the flower but left this petal folded in half. For the final detail I added some of my favorite tape measure ribbon.

The flowers could be attached to so many different things.

I used the flowers to cover up the twist ties on a few of my planters. I stitched the flowers onto a band of upholstery webbing. Put a little stitch through the flower and webbing near the top of the flower just to tack it up so that when it rains it will stay upright. Velcro was sewn to the back of the webbing for a closure. I also used some clips from the office store on the deck planters. That was a really easy way to secure them to the sticks.

Here it is sitting on the right side of the porch. (Note: the birds in the front yard decided burlap would be great for their nests. I've had to swap this flower out)

I also like how the ruler ribbon ties in with the old folding tape measure that I use in this planter. I don't think I could have planned that better.

On the left side of the porch the upholstery webbing is just simply tied on - covering the tie wrap. I used 2 yards for each planter.

The planters that sit at the sidewalk entrance also receive this simple treatment. I had so many sticks that I ended up putting them in the three planter boxes that are built into the deck.

Here are the two planters along the walkway of the deck in all their tie wrap glory!
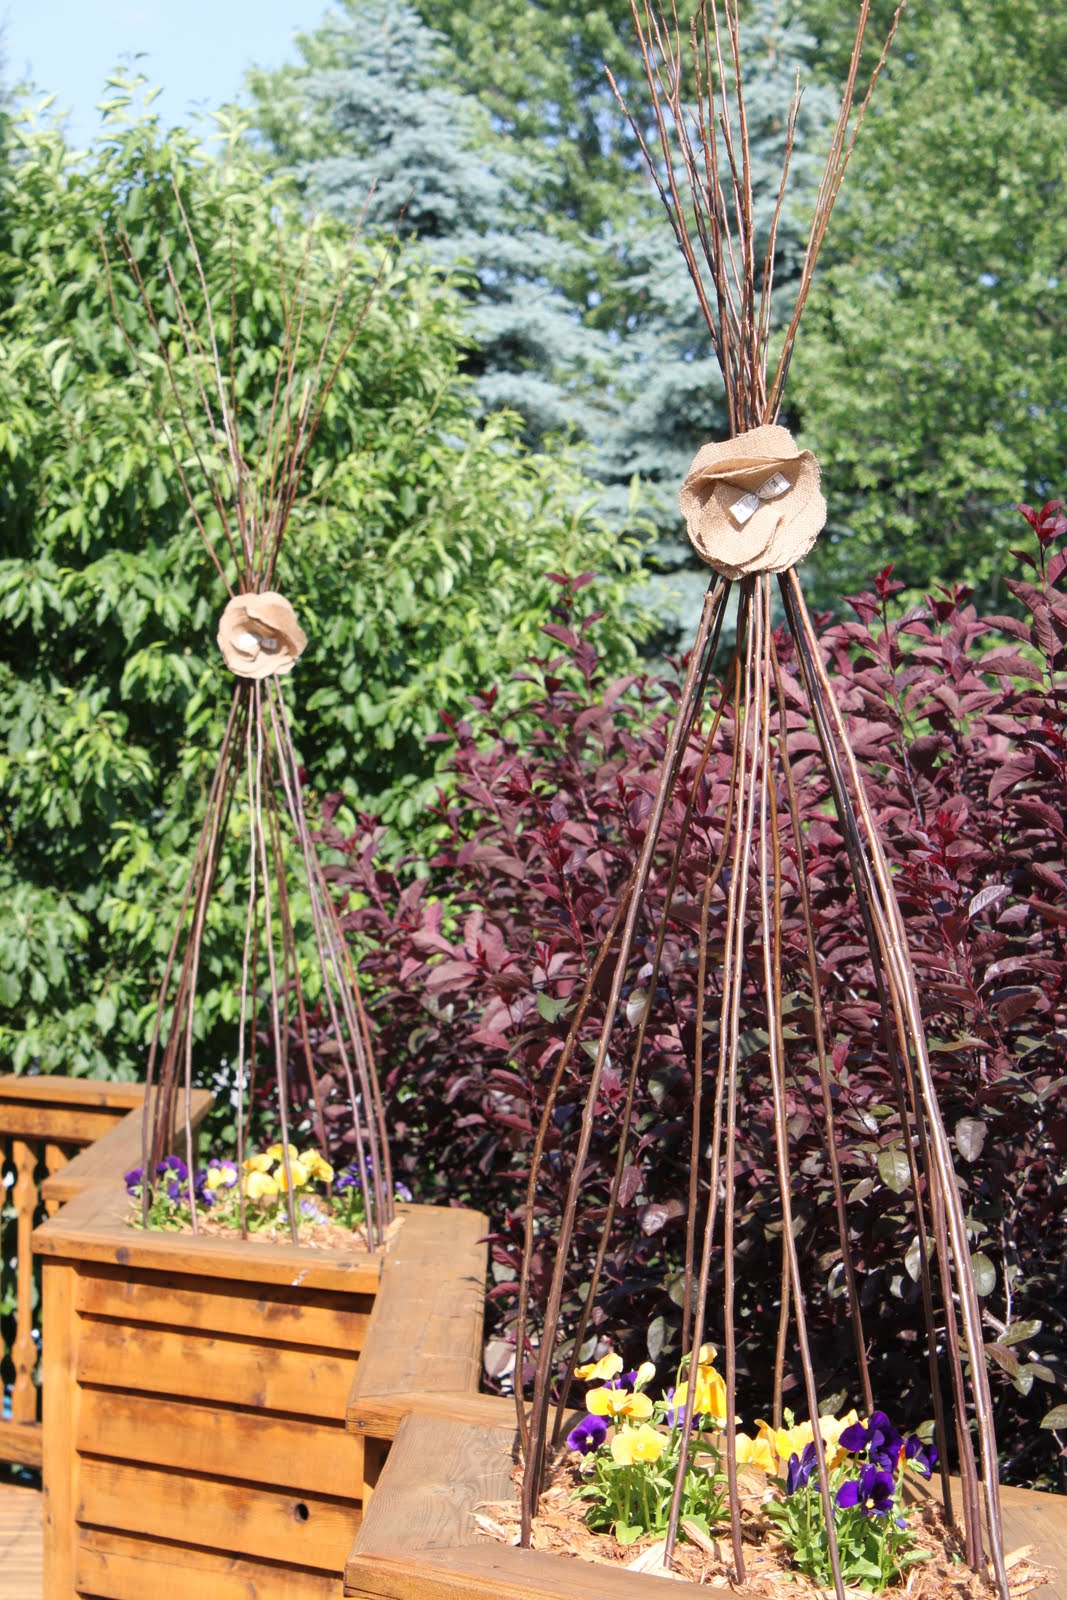
And with the flowers. When Fall comes I switch out the plants and the ribbon. I'll take some updated photo's when the time comes! Until then I'll be enjoying my stick happy yard!
I just linked this project up to the Funky Junk Interiors Saturday Night Special #37 - Garden features. You can find it here.


15 comments