How To Make Your Own Pinwheel Bouquet
11:00 AM
I made this project a couple of months ago - I guess it is about time I share it!

One day I decided that it would be nice to have a bouquet that would just stay nice! I really like working with old book pages, and decided that a whole bunch of pinwheels in a vase might just be the thing.

My arrangement has 42 pinwheels. 41 are made out of a 4 by 4 inch square of paper, and the embellished one is a 5 by 5 inch square. They are really easy - just sometimes a little hard to hold onto. The more you make the easier they get.
We will start with the plain pinwheels.

Using a paper cutter cut out 4 by 4 inch squares. Note: if you are using dictionary pages make sure to skim the definitions to make sure your words are alright to use.

Next, fold your square corner to corner.

Unfold and it will look like this.

On each of your fold lines using scissors make a cut 1/2 way up.

I used a 1/16" hole punch for the next step.

In the upper left corner of each triangle punch a hole. Also punch a hold in the center of the paper.

Next, get your brads ready.
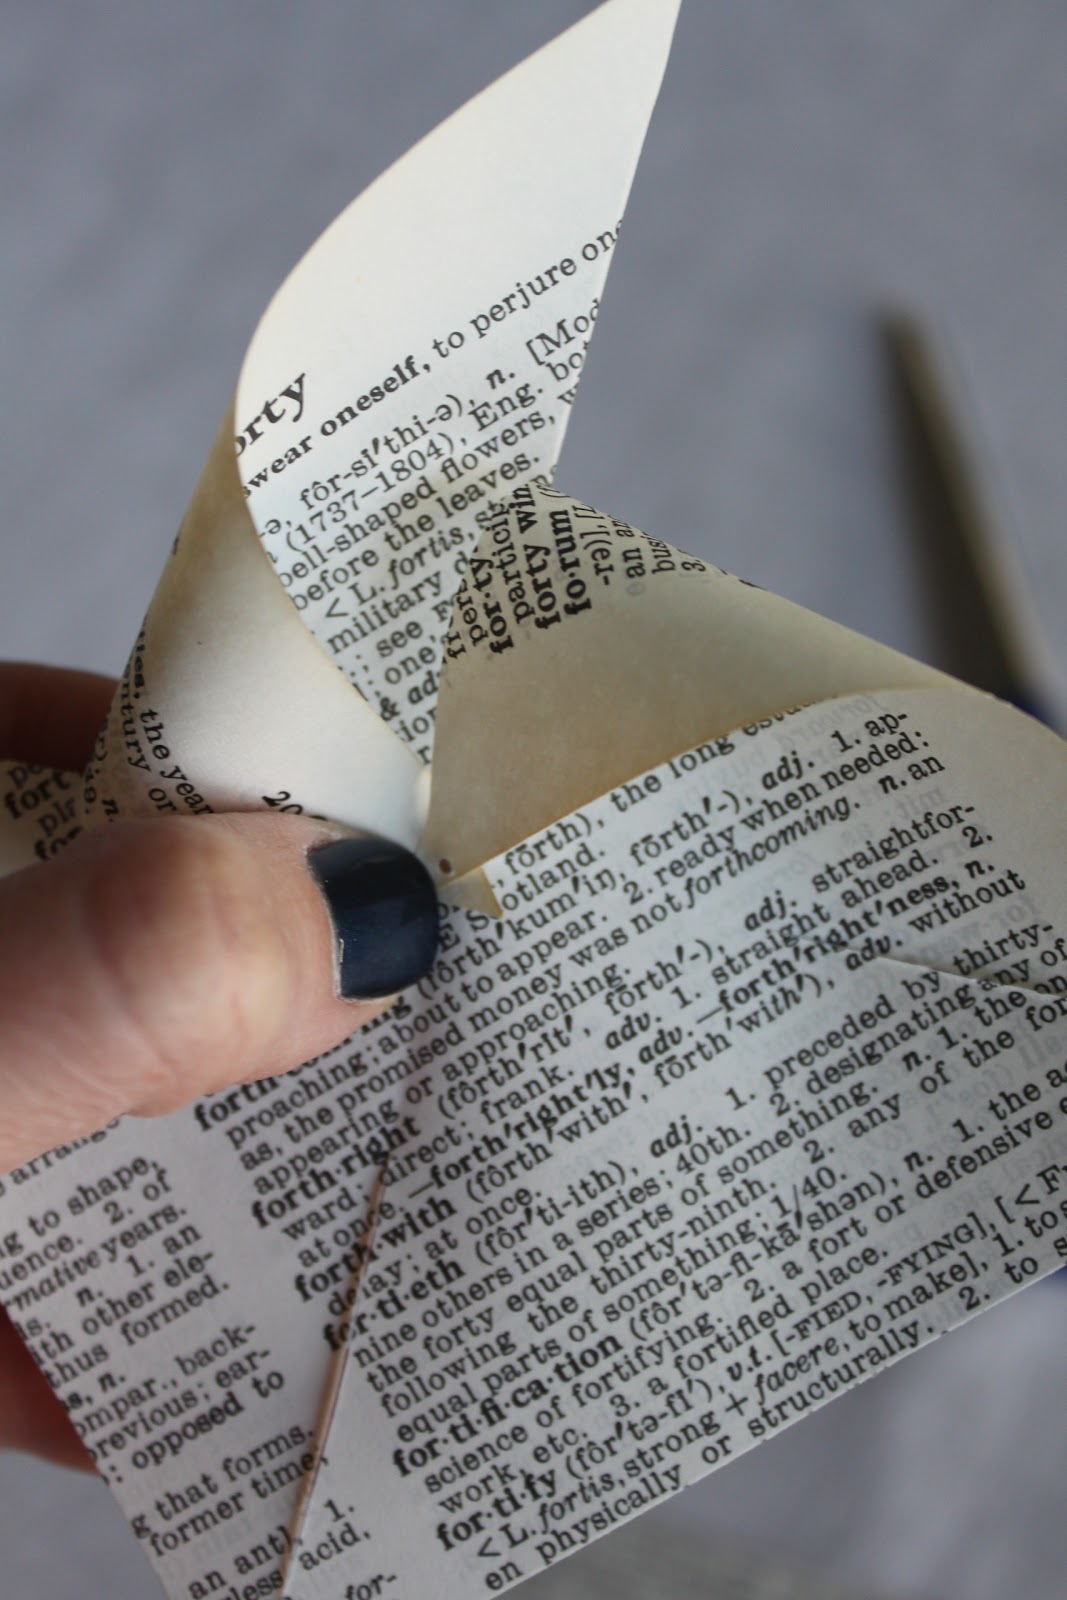
Here is where it can get a little challenging. Fold each paper punch hole one by one so that the hole lines up with your center hole. Keep gathering them up until all four points meet in the middle. They will pop out here and there. Just start again. It really does get easier to hold onto it all.

When they are all in the middle push your brad through the middle and secure it. That's it!

Now that your pinwheel is finished you need a stem. I used wooden skewers . I used scissor to clip off the sharp end. Shut my eyes when I made the cut. Probably not the best method, but it worked. Safety glasses might be key.

For the larger pinwheel follow the same steps - just cut your paper into a 5 by 5 inch square to start. I added cream tissue and 2 mini cupcake liners to the top of this pinwheel. I also added a little word and a piece of ribbon. Put the ribbon and word on the backside of your pinwheel before you fasten the brad.

I left the backside of the small pinwheels plain. On this pinwheel I added a circle of book page. I secured all of the pinwheels to the skewers just like this with hot glue.

This is one of those projects that you can make any way you like - use any paper - add any word - add any color ribbon.

As for the vase - it is really 2 clear glass vases. The large vase that you see is 7 1/2 inches high by 6 1/2 inches wide.

I added another cylinder glass vase from the dollar store to the middle. It just helps everything stand up better together. You may be able to see it through the blurry photo.

I messed around a little with different fabric scraps and ribbon, but in the end decided to make another large band for this vase. If you want directions for the burlap band please click here.
Thank you so much for stopping by and reading. I enjoy every visit!
I hope you enjoy this high impact, but inexpensive project!!!


10 comments