Tutorial: Turn A Storebought Memory Foam Mat For Your Dog's Crate Into Something Stylish For Your Home
10:05 PM
I just might have a problem.
:)
I like things to look good to my eyes, and sometimes when you want pretty you just have to create it yourself. My Whippet, Guinness, likes to be comfy so I wanted to add some extra cushion to her kennel. I always find it surprising when you go into one of the pet supply stores how very unappealing their pet beds are. Do people really want to put this stuff into their homes? I think we can often just settle with what is there, and figure that is what it is supposed to look like. For me, I just can't do it. When you see the before of the bed hopefully you will really like the after. Now I'm thinking - why not spray paint the kennel itself. That black metal isn't very exciting either.
I caved and bought an orthopedic type cushion for the bottom of the kennel. Nothing pretty about it.
It's dimensions: 35L 22 w 2.5 deep
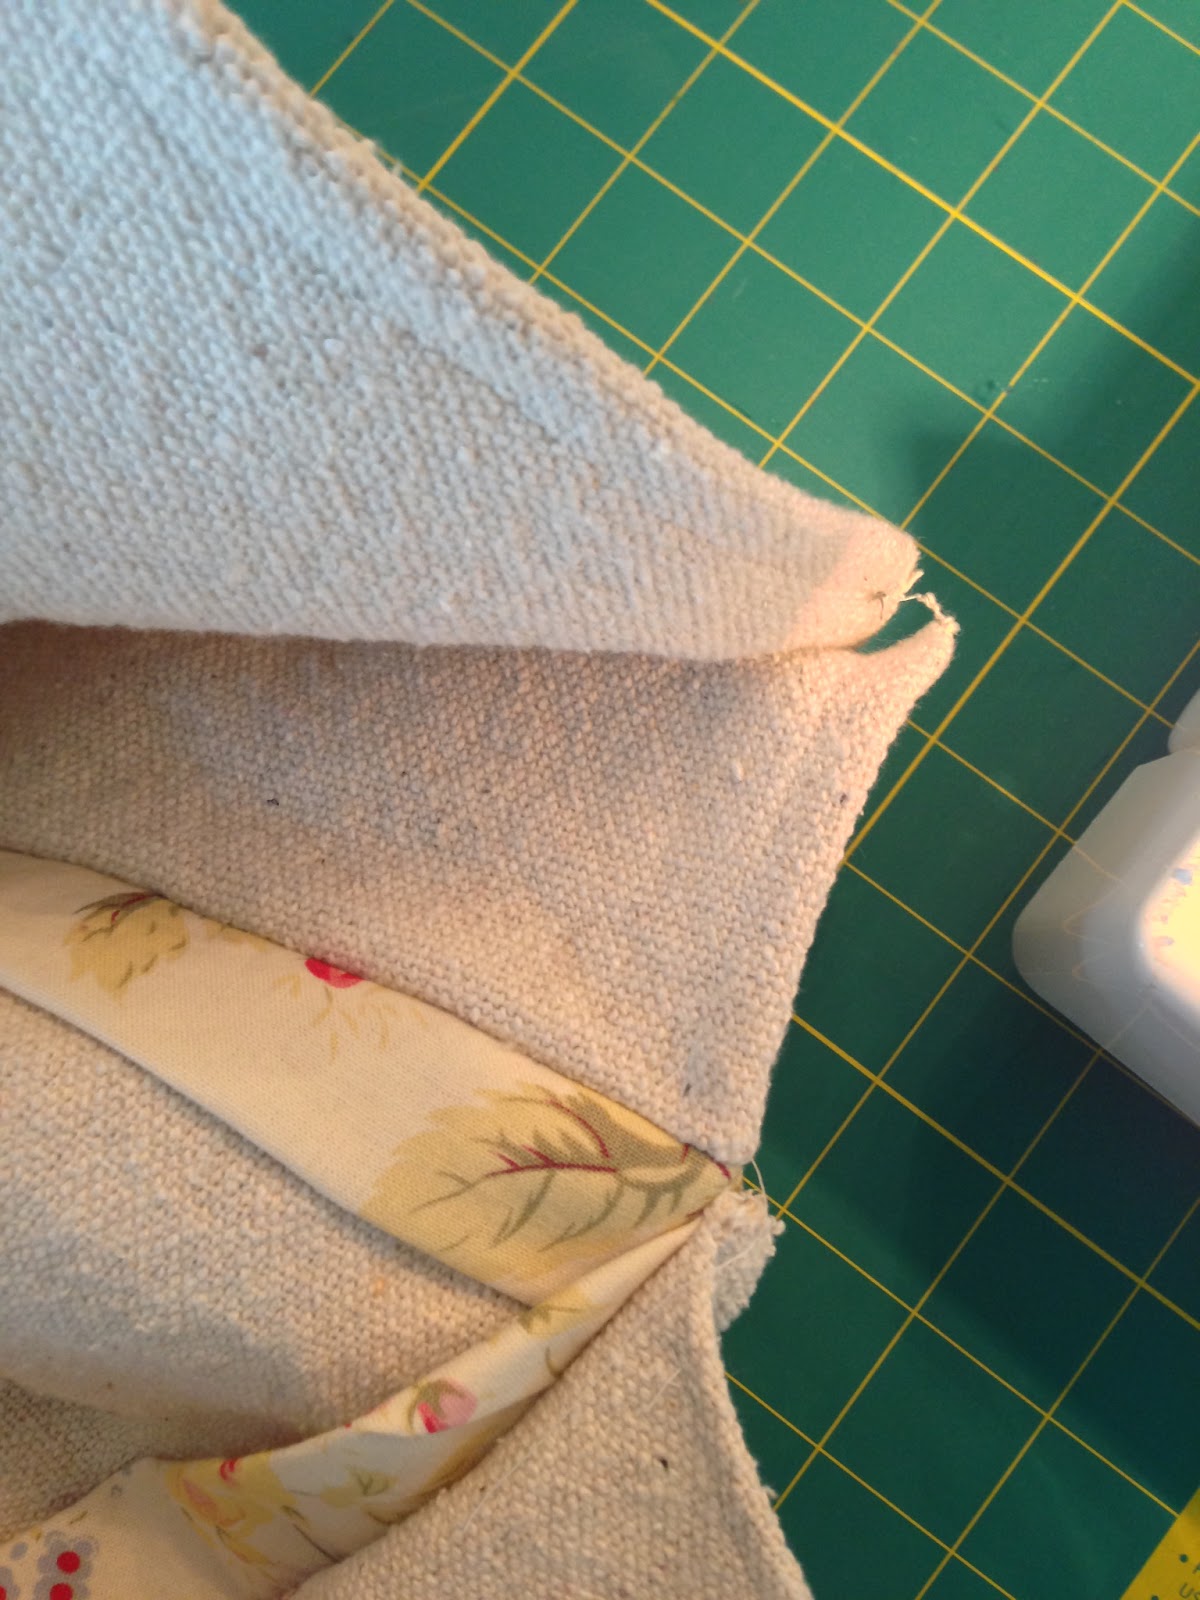
Then went around my house to see what fabrics I could use to disguise it.
I used some feedsack material from a Decor Sales sale. (See previous post)
I also used some floral material, and a velvety stripe that I bought on clearance years ago.
So, I made this up by the seat of my pants. Here are my main measurements ...
I cut 2 main pieces out of the the feedsack fabric 37 by 26 1/2 inches. I cut everything so it would be roomy, and even though I pre-washed the fabric I figure there may still be some shrinking in the future.
I cut my side pieces 4" deep. I used feedsack on 3 sides, and the stripe on one. I like to mix up colors when I wear clothes and accessories so why not on the bed too!
I cut pieces out of the floral fabric to make some flange welting - I cut those pieces 3" wide.


6 comments